How to Repot Rootbound Houseplants Safely
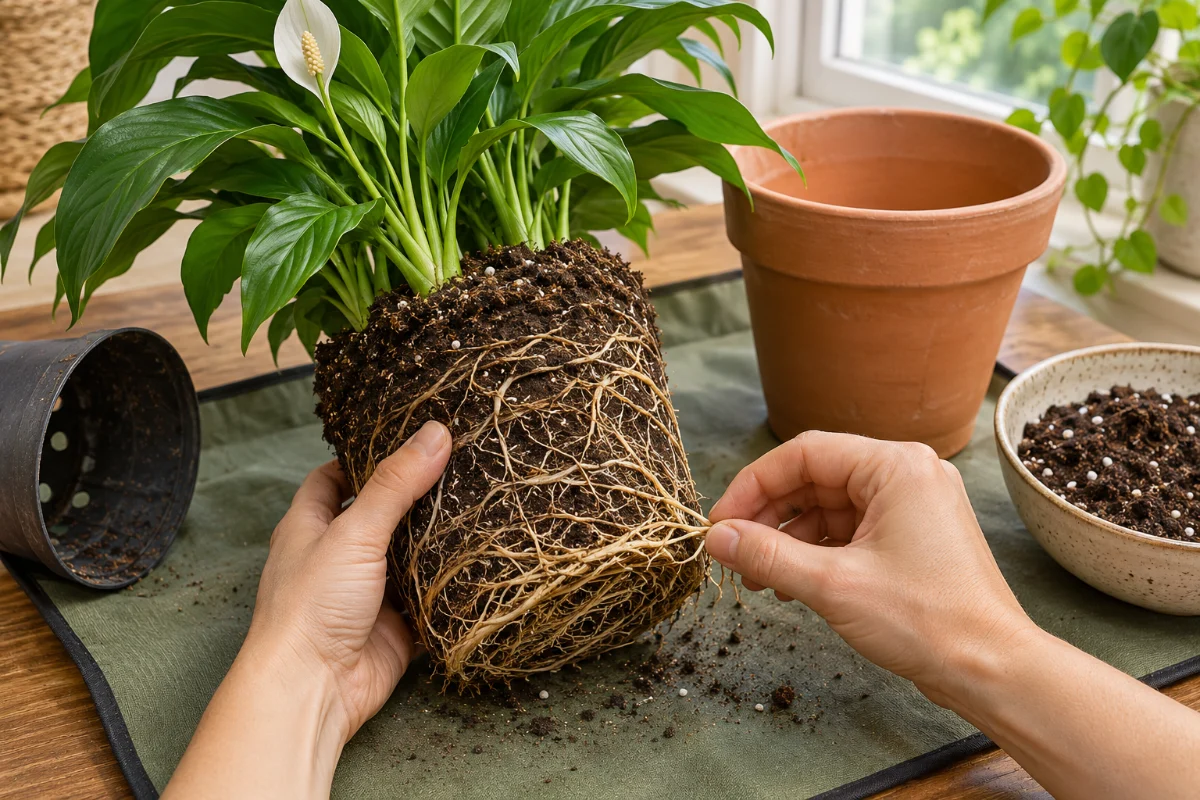
Have you ever pulled a struggling plant from its pot only to find a solid, swirling mass of roots instead of soil? It is a startling sight. Today, we are focusing on exactly how to handle repotting rootbound houseplants without causing excessive root loss or shock. You will learn the gentle techniques needed to loosen those tightly coiled roots, allowing them to finally breathe and expand. By mastering this, you will rescue your oldest companions and give them a completely fresh lease on life, restoring their health and vibrancy.
What You Need Before We Start
Before you start, gather your supplies in a comfortable workspace. You will need a clean, sanitized pruning shear or heavy-duty scissors, a new pot that is only one to two inches larger in diameter than the current one, and your fresh, well-draining potting mix. I also highly recommend having a small bucket of room-temperature water nearby, and perhaps a wooden chopstick or a blunt knitting needle to help tease the roots apart without snapping them.
The Gentle Untangling Method: A Step-by-Step Guide
Our goal is to encourage outward growth without traumatizing the plant. Here is how you do it step-by-step:
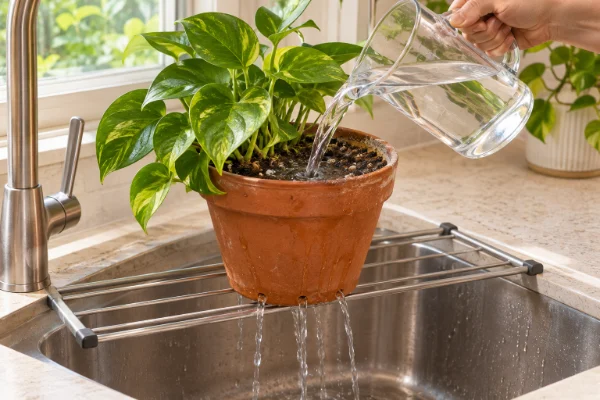
- Water thoroughly beforehand: Water your plant the day before repotting. Hydrated roots are much more flexible and significantly less likely to snap than dry, brittle ones.
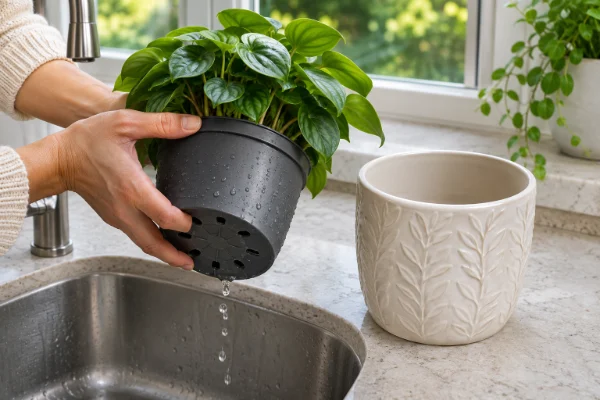
- Unmold with care: Squeeze the sides of the plastic nursery pot gently to loosen the root ball. If it is stuck in a ceramic pot, run a butter knife carefully around the inside edge. Slide the plant out; never yank it forcefully by the stem.
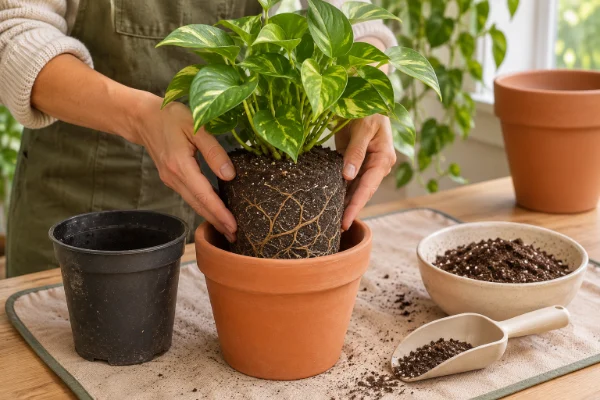
- Assess the root ball: Look at the bottom and sides. Are the roots circling endlessly? Are they growing thickly out of the drainage holes? This dictates how much loosening you need to do.
- Gently massage the roots: Using your fingers, start at the bottom of the root ball and gently massage it to loosen the outer layer of roots and free some of the old, depleted soil.
- Tease the coils apart: For very stubborn, thick roots, use your chopstick to gently pry the coils away from the center. Do not panic if you hear a few tiny snaps, but avoid ripping large chunks away.
- Repot and settle: Place a layer of fresh soil in the new pot, position the plant so it sits at the exact same depth as before, and fill the sides with soil. Press down lightly to remove large air pockets, but do not pack it too densely.
An Alternative Approach: Vertical Slicing
What if the roots are a completely solid brick that refuses to untangle no matter how much you massage them? In this extreme case, you can use the vertical slicing method. Take a sterilized, sharp knife and make three or four shallow vertical cuts (about half an inch deep) down the sides of the root ball, and score the bottom in an X shape. This severs the circular growth pattern and forces the plant to send out new roots into the fresh soil, minimizing the time you spend physically ripping roots apart with your hands.
How to Know if Your Method is Working
You will know your repotting was successful when the plant recovers its firmness within a few days. While a slight droop immediately after repotting is completely normal due to mild transplant shock, the leaves should perk back up quickly. Over the next month, you should see a beautiful flush of new growth as the roots finally have access to fresh nutrients, oxygen, and space.
Common Mistakes and Obstacles
The most common mistake I see is sizing up too dramatically. When you take a tightly bound plant and put it into a pot that is three or four sizes larger, the vast amount of new, wet soil surrounds a root system that cannot drink it fast enough. This leads directly to root rot. Always follow the "one size up" rule. Another obstacle is trying to untangle every single root. You only need to loosen the outer inch or two; the inner core can usually be left perfectly intact.
Additional Adjustments and Scenarios
If you are repotting a very delicate plant, like a Calathea, Alocasia, or a Maidenhair Fern, skip the vertical slicing and heavy teasing altogether. These plants have incredibly fine, fragile root systems that deeply resent disturbance. Simply loosen the very bottom gently and place it into the new pot. Conversely, rugged plants like Snake Plants, Monsteras, or ZZ Plants have thick rhizomes and fleshy roots; you can be much firmer with them when breaking apart a congested root ball.
Sometimes I have been asked this:
- Is it okay to trim the roots with scissors? Yes, if they are mushy, black, or overly long. Snipping a few damaged roots with sterile shears actually promotes healthier new growth.
- Should I fertilize immediately after repotting? No. Wait at least four to six weeks. The fresh soil already has nutrients, and adding fertilizer to stressed, freshly disturbed roots can severely burn them.
- Why is my plant drooping so much after I repotted it? This is transplant shock. Keep it in a slightly dimmer spot than usual for a few days, maintain high humidity, and ensure the soil is lightly moist but not soggy while it recovers.
- Can I repot a severely rootbound plant in the middle of winter? It is best to wait for spring or summer when the plant is actively growing. However, if the plant is declining rapidly because it is choking, do it immediately regardless of the season to save its life.
- What do I do with the old, depleted soil? Throw it away or add it to an outdoor compost pile. Do not reuse it for other indoor plants, as it lacks nutrients and could harbor pests or fungal spores.
Final Thoughts
Rescuing a severely constrained plant is a deeply satisfying experience. While it requires a gentle touch and a bit of patience, understanding how to handle those delicate roots will make you a much more confident gardener. Take a deep breath, trust your hands, and enjoy giving your green friends the space they desperately need to flourish in your home.