How to Flush Fertilizer Salts from Plants
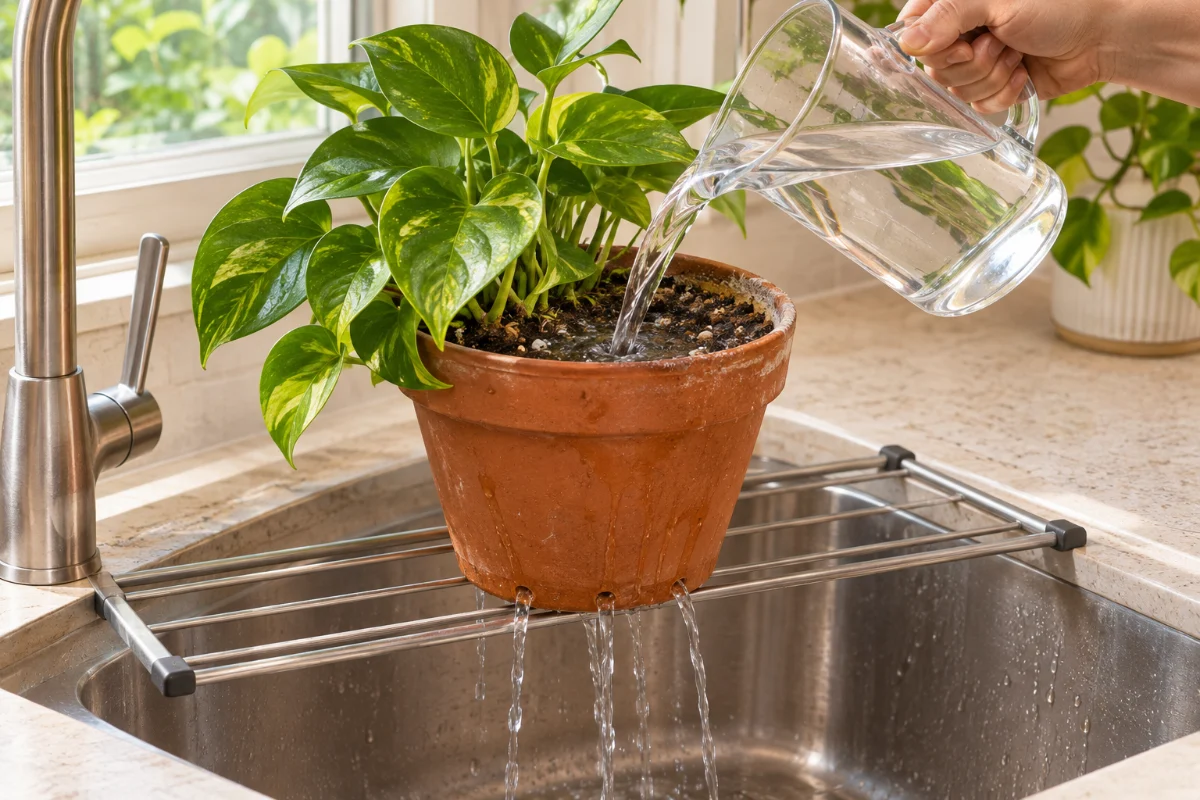
Have you recently noticed a crusty white layer forming on the surface of your plant's soil, or perhaps the tips of the leaves are turning a crispy, unhappy brown despite your careful watering? These are classic signs of mineral and fertilizer buildup. Today, we are going to learn the essential technique of flushing fertilizer salts from your indoor plant potting mix. By understanding how to properly leach these excess minerals, you will rescue your plants from chemical root burn, restore their ability to absorb water, and promote incredibly vibrant, healthy new growth.
What You Need Before We Start
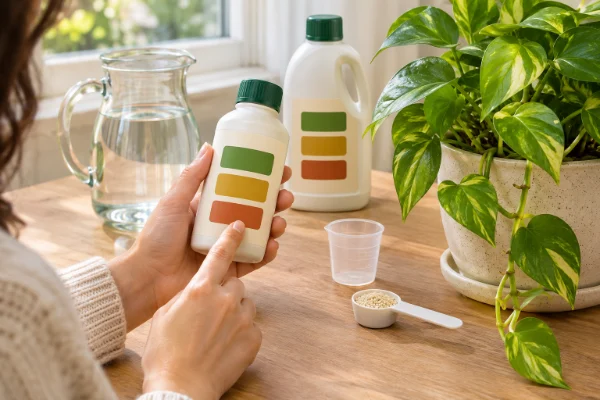
Before you begin the flushing process, you need to gather a few simple things. The most critical requirement is that your plant's pot must have active drainage holes; you cannot flush a plant in a closed container. You will also need access to a sink, a bathtub, or an outdoor hose (if the weather is mild). Finally, you will need a large volume of room-temperature water. If your local tap water is exceptionally hard or heavily chlorinated, it is best to use filtered, distilled, or rainwater for this process.
The Deep Flush Method: A Step-by-Step Guide
Flushing is essentially giving your plant's root system a deep, purifying shower. Here is how to do it safely and effectively:
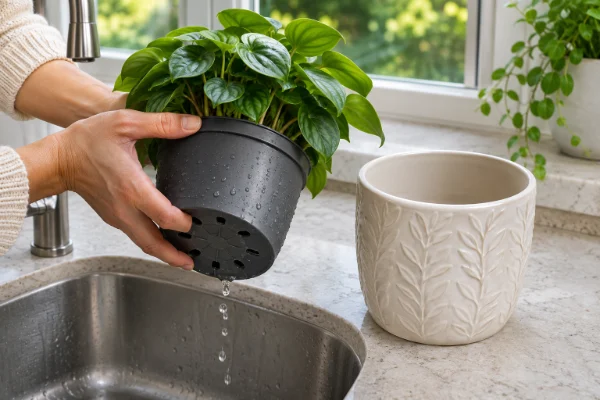
- Relocate the plant: Move your potted plant to the sink or shower. Remove any decorative cachepots or drip saucers so the water can flow freely out of the bottom.
- Apply the first wash: Slowly pour room-temperature water over the entire surface of the soil. Use enough water to completely saturate the root ball until it pours steadily out of the drainage holes.
- Let it rest: Stop watering and let the plant sit for about ten to fifteen minutes. This resting period allows the stubborn, crystallized salts attached to the soil particles to dissolve.
- The final flush: After the resting period, pour a large volume of water through the soil again. A good rule of thumb is to use twice the volume of the pot. For example, if you have a one-gallon pot, pour two gallons of water slowly through the soil.
- Drain completely: Allow the pot to sit in the sink for at least 30 minutes to an hour. Tip it slightly to ensure all excess water has drained before returning it to its saucer.
An Alternative Approach: Topsoil Replacement
If the salt crust on your soil is incredibly thick and hardened, flushing alone might not be enough, or it might take an excessive amount of water. In this case, gently scrape off the top inch of the crusty potting mix using a spoon. Throw this saturated soil away, replace it with an inch of fresh, high-quality potting mix, and then perform a lighter flush. This physically removes the bulk of the salts immediately.
How to Know if Your Method is Working
You will know your flushing routine was successful almost immediately by looking at the soil: that crusty white or yellowish buildup will be completely gone, leaving dark, clean earth. Over the next few weeks, the plant itself will show signs of relief. The crispy brown tips on the leaves will stop spreading, and you should see a flush of bright, healthy new growth as the roots finally have access to an untainted environment.
Common Mistakes and Obstacles
The most dangerous mistake you can make is attempting to flush a pot without drainage holes. Pouring massive amounts of water into a closed container will instantly drown the roots and cause catastrophic rot. If your plant is in a pot without a hole, you must repot it into a proper nursery pot with drainage before addressing the salt issue. Another common obstacle is using freezing cold tap water, which can severely shock tropical roots, causing the plant to drop its leaves.
Additional Adjustments and Scenarios
If you have massive floor plants that are far too heavy to carry to the shower, you can still flush them right where they sit. Slowly pour the water over the soil, and as the excess liquid fills the drip saucer beneath the pot, use a large turkey baster or a wet/dry shop vacuum to constantly suck the water out of the saucer and dispose of it in a bucket. It takes a little more effort, but it saves your back! For succulents and cacti, flush them very rarely (perhaps once a year), and ensure you place them in a warm, sunny spot immediately afterward so their fast-draining soil dries out as quickly as possible.
Sometimes I have been asked this:
- How often should I be flushing fertilizer salts? For most indoor tropical plants that are fertilized regularly, flushing every four to six months is ideal. If you use heavy synthetic fertilizers, you might need to do it every three months.
- Will flushing wash away all the good nutrients in the soil too? Yes, the process removes both bad salts and beneficial nutrients. Wait about one to two weeks after flushing, and then resume your fertilizing schedule with a diluted dose.
- Is the white stuff on my soil always fertilizer salt? Not always. It can also be calcium buildup from hard tap water, or even a harmless saprophytic soil fungus. Regardless of the cause, flushing or topsoil replacement will resolve it.
- What if the water just runs straight down the sides of the pot? This means your soil has become hydrophobic and has shrunk away from the pot. Submerge the entire pot in a basin of water for 30 minutes to rehydrate the peat moss, then proceed with the flushing steps.
- Can flushing cure root rot? No. Flushing treats chemical burn from salts. If your roots are already mushy and rotting from overwatering, flushing will only make the rot worse. Root rot requires repotting and pruning damaged roots.
Final Thoughts
Think of flushing as a necessary spa day for your indoor garden. Just as we need to cleanse and reset, our plants need a break from the constant buildup of heavy minerals and plant food. By mastering the art of flushing fertilizer salts, you are taking a proactive step to ensure your leafy companions live a long, vibrant, and beautifully healthy life in your home.