Why Drainage Holes and Cachepots Matter
We have all experienced that moment of weakness in a home goods store: you spot a stunning, hand-painted ceramic pot that perfectly matches your living room decor. You flip it over, and your heart sinks—there is no drainage hole. Your first instinct might be to plant your beautiful new monstera directly inside anyway. But today, we are going to explore why mastering the use of drainage holes and cachepots is the absolute secret to growing robust, healthy indoor roots. You will learn how to beautifully style your plants without ever compromising their health or risking the dreaded root rot.
What You Need Before We Start
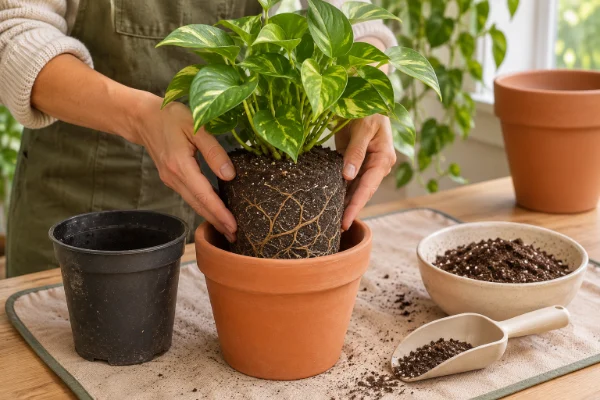
Before you start repotting, let's gather our essentials. First, you need your decorative pot (often called a cachepot, a French term meaning "to hide a pot"). You will also need a lightweight plastic nursery pot that fits comfortably inside the cachepot. Crucially, this inner plastic pot must have plenty of drainage holes at the bottom. It is also helpful to have some small pebbles, recycled plastic bottle caps, or even a specialized pot riser to act as a spacer at the bottom of your decorative pot.
Mastering the Double-Pot Method: A Step-by-Step Guide
Using a cachepot system is not just about aesthetics; it is a highly functional way to manage your indoor garden. Here is how you can set it up perfectly:
- Measure for the perfect fit: Slide your plastic nursery pot into the cachepot. There should be a slight gap (about half an inch to an inch) around the sides to allow for air circulation. The rim of the nursery pot should sit just below the rim of the cachepot so it remains hidden.
- Elevate the inner pot: If your cachepot is too deep, or if you want an extra layer of safety, place a few stones, corks, or plastic caps at the bottom of the cachepot. This creates a safe zone so your plant never sits in a puddle of drained water.
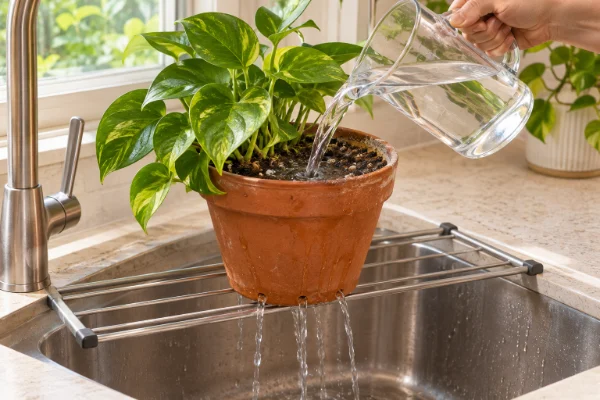
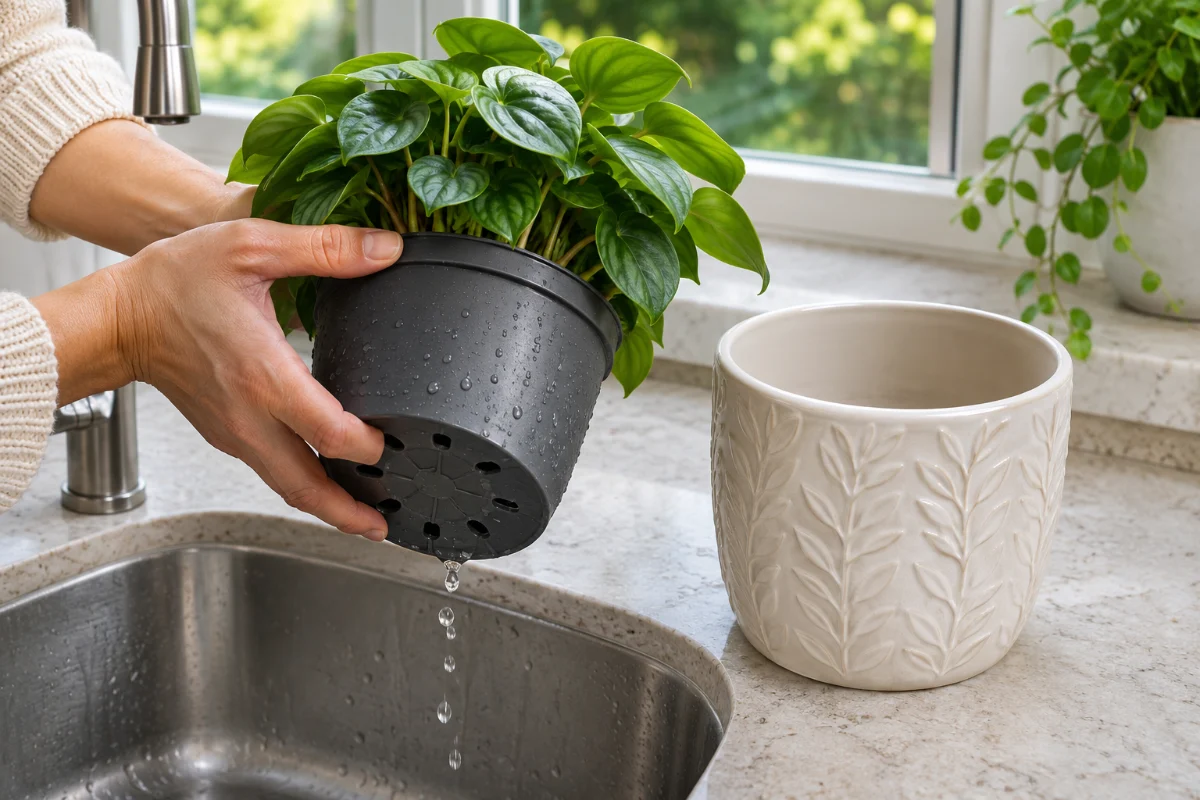
- Execute the watering routine: When it is time to water, always remove the plastic pot from the cachepot. Take it to the sink or shower, water it thoroughly until water pours out the drainage holes, and let it drip-dry completely for 15 to 20 minutes.
- Return to the display: Only once the pot has finished draining should you place it back into its decorative cachepot. This guarantees that your plant's roots will remain aerated and healthy.
An Alternative Approach: Drilling Your Own Holes
If you absolutely despise the double-pot method and want to plant directly into a decorative container, there is an alternative: drill a hole yourself. You will need an electric drill and a diamond or masonry drill bit. Place a piece of masking tape over the bottom of the pot to prevent the drill from slipping, spray a little water on the surface to keep the bit cool, and gently drill through the ceramic. Now your beautiful cachepot is a fully functional, draining planter!
How to Know if Your Setup is Working
You will know your cachepot system is functioning beautifully when your plant exhibits steady, healthy growth. Because the roots are receiving deep hydration during watering but are protected from stagnant water, you will not see the yellowing, mushy leaves characteristic of root rot. When you lift the inner pot, the soil should smell earthy and fresh, never swampy or sour.
Common Mistakes and Obstacles
The single biggest mistake in indoor gardening—and an obstacle I see constantly—is the "rocks at the bottom" myth. Many people put a layer of gravel at the bottom of a pot without drainage holes, thinking it creates drainage. It does not. Instead, it creates a perched water table that brings the soggy, rotting layer of soil closer to your plant's fragile roots. Never plant directly into a pot without a hole. Always use a nursery pot insert!
Additional Adjustments and Scenarios
Consider the material of your cachepot when making adjustments. Woven baskets or fabric planters make gorgeous cachepots, but you must ensure they have a plastic waterproof liner inside. Otherwise, any residual moisture on the outside of your nursery pot will seep through and ruin your floors or furniture. If you are using very heavy, large ceramic cachepots for floor plants, you might find them too heavy to move to the sink. In that case, use a turkey baster to suck up any excess water that accumulates at the bottom of the cachepot after watering.
Sometimes I have been asked this:
- Does the cachepot need to be much bigger than the nursery pot? It only needs to be slightly wider (about half an inch of clearance all around) and tall enough to hide the plastic rim. Too large, and the inner pot will shift around.
- Can I use terracotta pots as cachepots? You can, but remember that terracotta "breathes." If water pools in the bottom, it will seep through the clay and could damage the surface underneath it. Always use a glazed saucer if your terracotta has a hole.
- What if I accidentally left water in the cachepot? If you discover your plant sitting in water, immediately pull the nursery pot out. Let it dry on a rack for a day or two. Dump out the stagnant water and wash the cachepot to prevent bacterial growth.
- Are hanging planters considered cachepots? They often are! Many beautiful macramé or ceramic hanging pots have no drainage. Always keep your hanging plants in light plastic pots inside the decorative hanger so you can easily take them down for watering.
- Is it okay to plant directly if I water very, very carefully? I strongly advise against it. Without drainage holes, you can never flush out mineral build-up from fertilizers or tap water, which will eventually burn the roots. The double-pot method is always safer.
Final Thoughts
Protecting your plant's root system is the greatest kindness you can offer as a plant parent. By embracing drainage holes and cachepots, you get the best of both worlds: a beautifully curated, stylish home, and thriving, vibrant plants. Remember, a healthy plant starts from the bottom up. Keep those roots breathing, and happy growing!